Framer Forms — How to Set Up Contact Forms and Collect Submissions
Forms in Framer make it easy to collect information from users without any complex setup. In this tutorial, you’ll learn how to configure form submissions, manage input fields, and receive form data correctly.

5
min read


Forms in Framer make it easy to collect information from users without any complex setup. In this tutorial, you’ll learn how to configure form submissions, manage input fields, and receive form data correctly.
Forms Basics
Forms are used to collect information from users — for example on a contact page, help center, or feedback page.
In most templates, a form is already placed on the Contact page.
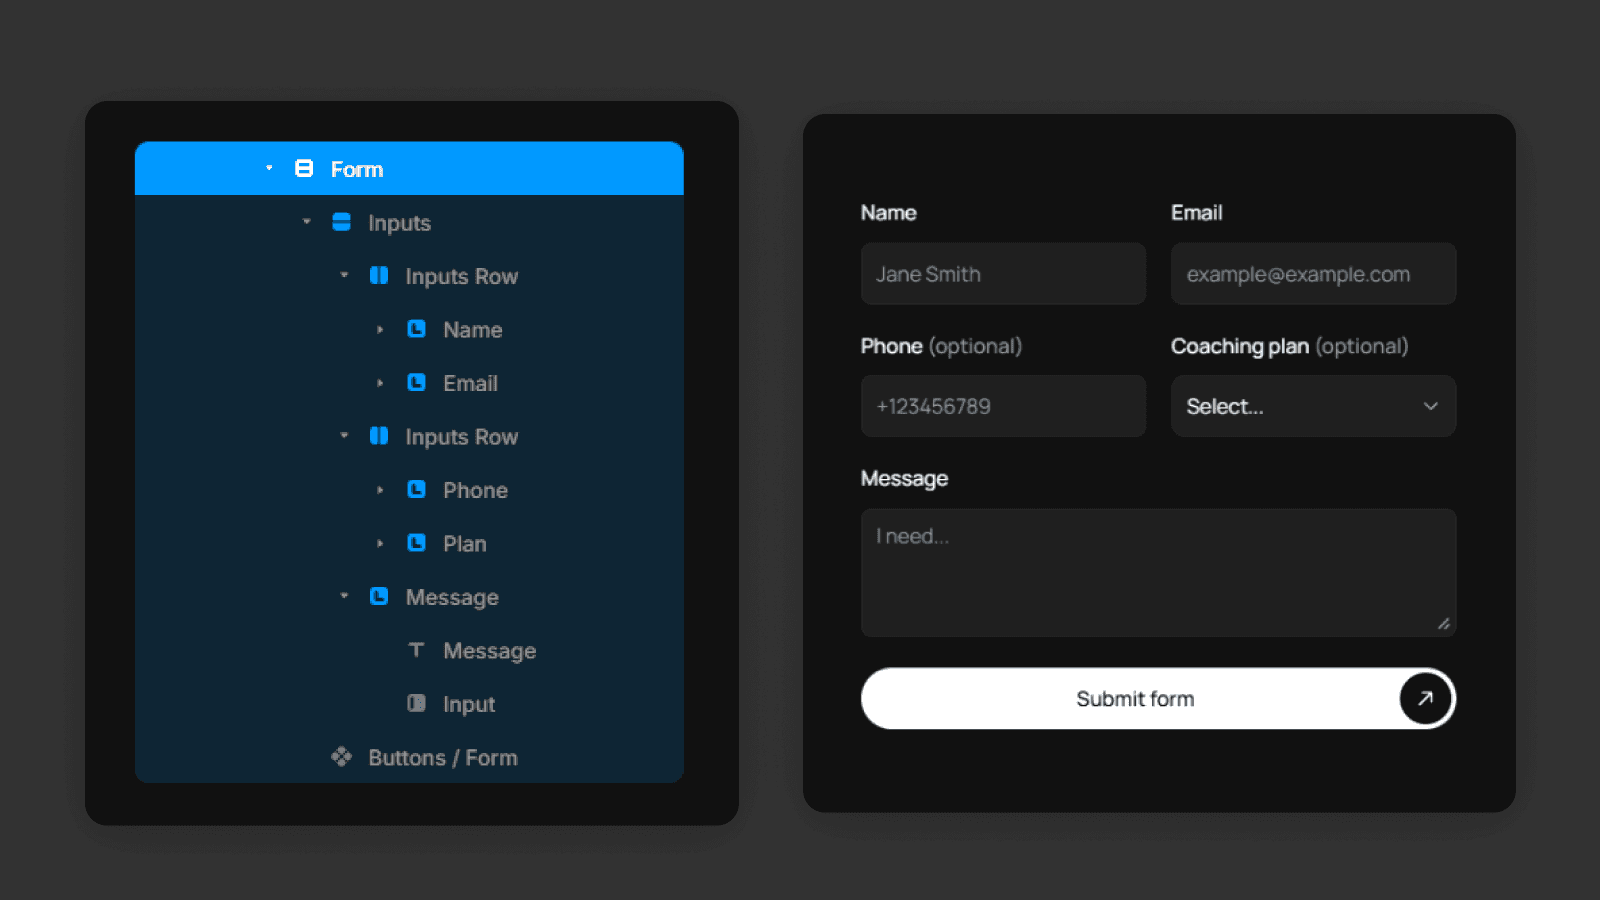
You can select the form directly on the canvas, or find it in the Layers panel.
Form Submission
By default, a form doesn't send data anywhere until you set a Send To destination.

Select the form, then go to the right panel and find the Send To setting. Here, you can choose where the form data should be sent.
For example, if you select Email, you can enter your email address. When a user submits the form, you'll receive an email containing all the submitted values.
Input Names and Form Data
Each input field in the form has a Name property.
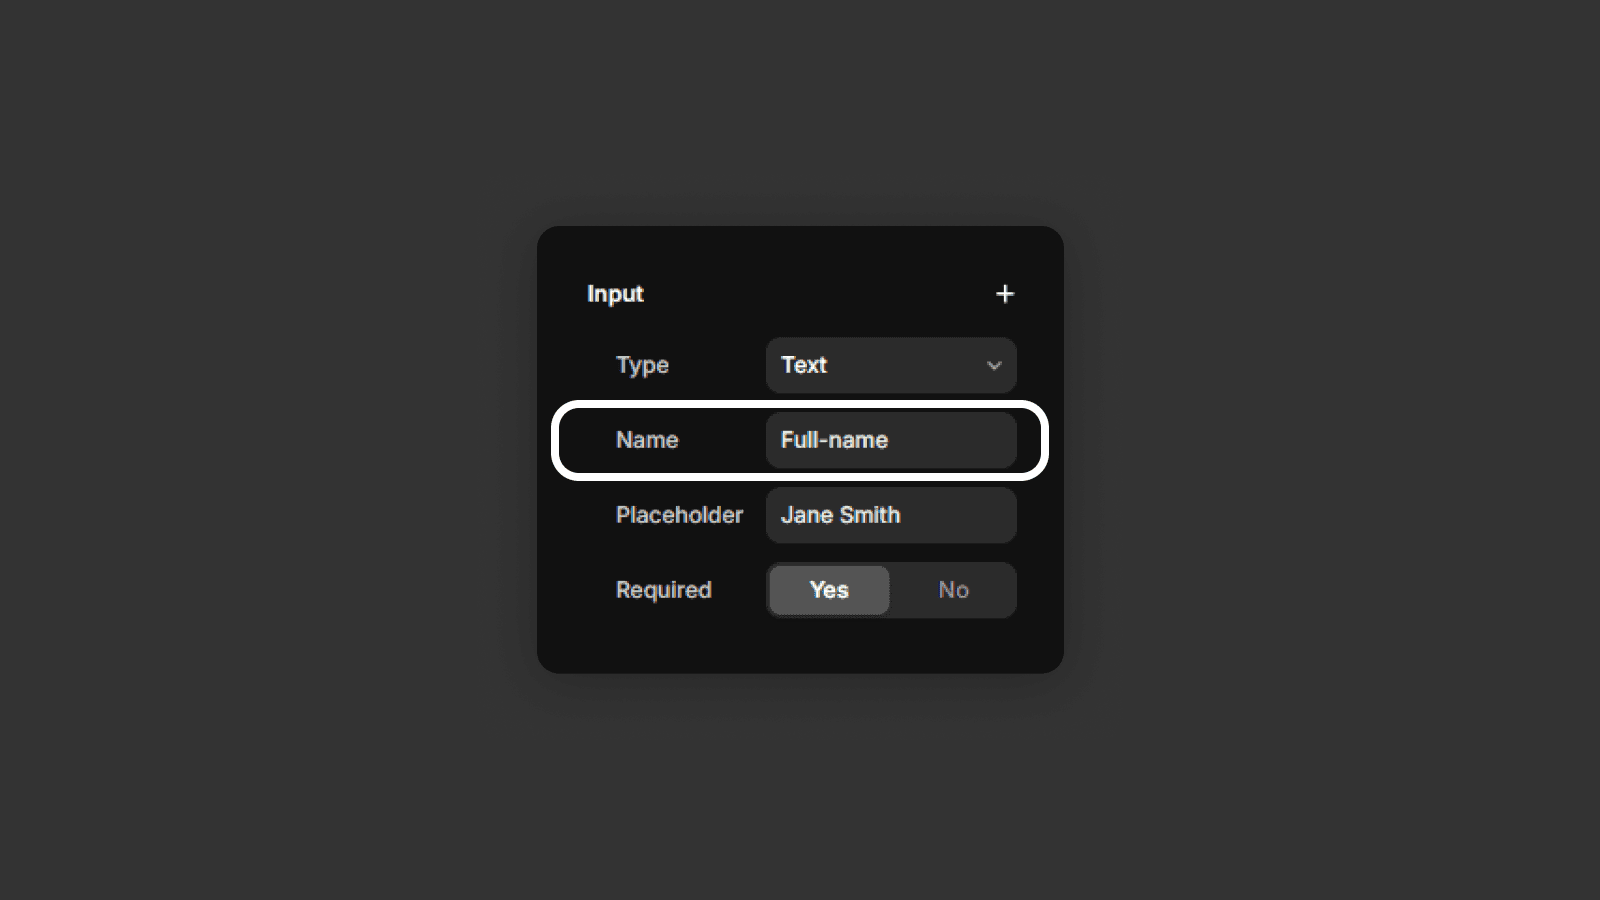
This name is used to label the data when it's sent, so you can clearly identify each value in the submission.

Email with form data example
For example
An input with the name "Name" will appear as Name: [value] in the email
An input with the name "Email" will appear as Email: [value]
This makes form submissions easy to read and understand.
Input Types
Each input can have a specific type, depending on the kind of data you want to collect.
Here are the input types available in Framer:
Text – for general text input, such as names or short messages
Text Area – for longer text, such as messages, feedback, or descriptions
Email – for email addresses, with built-in validation
Number – for numeric values only
Phone number – for phone numbers, optimized for mobile keyboards
URL – for website links
Date – for selecting a specific date
Time – for selecting a specific time
You can also mark inputs as required, which means the form can't be submitted until the field is filled out.
Adding New Inputs
To add a new input to the form:
Duplicate an existing input field by pressing CMD + D (Mac) or CTRL + D (Windows)
Set the input type from the available options
Give it a clear Name value
As long as the input element is placed inside the form element, it will automatically be included in the form submission.
You now know how to build and configure forms in Framer, choose the right input types, name your fields correctly, and set where form submissions are sent. With these basics, you can confidently collect user information and manage form data without any complex setup.
Frequently asked questions
How do I set up a contact form in Framer?
Select the form element on the canvas, go to the right panel, and find the Send To setting. Choose Email and enter your email address. Every time a user submits the form, you'll receive an email with all submitted values.
What input types are available in Framer forms?
Framer forms support these input types: text, text area, email, number, phone number, URL, date, and time. You can mark any field as required to prevent form submission until that field is filled out.
How do I add a new input field to a Framer form?
Duplicate an existing input field (CMD + D on Mac, CTRL + D on Windows), set its type in the right panel, and give it a clear Name value. Any input element placed inside the form element is automatically included in submissions.
Why is the Name property important for Framer form inputs?
The Name property labels each field in the submission data. For example, an input named "Email" will appear as "Email: [value]" in the email you receive. Clear, descriptive names make submissions easy to read and process. If you want to store submissions as content, see the Framer CMS tutorial.


